
What you'll need:
- An old magazine
- scotch tape
- scissors
- Protractor/ruler (optional: it just helps you get a cleaner fold)
- Mod Podge (yes, our old friend is back again!!)
- a paintbrush

The first step is to cut the pages. Cut them as close to the seam as possible, and then cut in half longways. You'll end up with a pile of strips.

The most time consuming part is next: (1) Take the strip and put the most colorful side facing out from where you plan to fold. (2) Fold the strips in half and crease firmly. (3) Fold in half one more time, cleaning up the edges as much as you can as you go.
***HINTS: using the flat side of a protractor or a ruler really helps crease the paper and saves you from potential paper cuts. It also allows you to fold more than one strip at a time during step 2, which is a significant time saver***


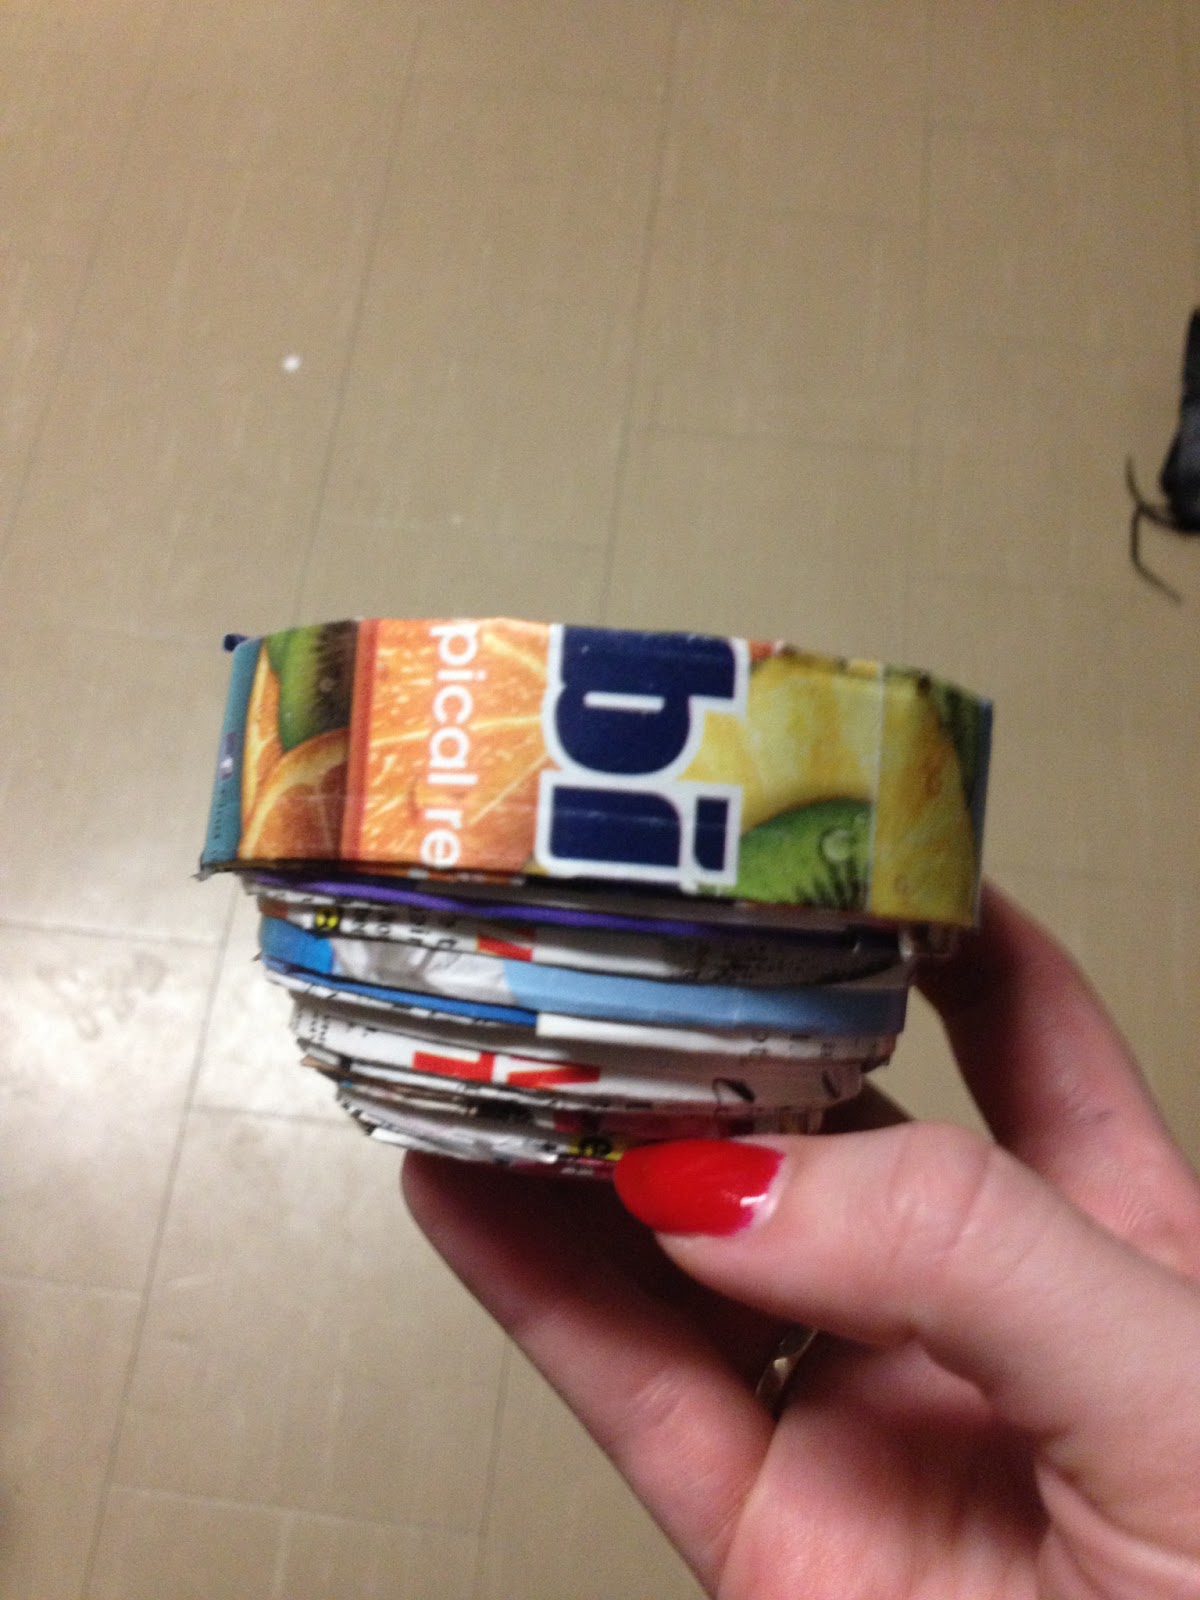
When rolling the coil, you have to decide how large you want your bowl to be, remembering that you need a decent sided base to support it. To test it at any given moment, just tape down the end of the last strip and slowly push the coil into a cone. BEWARE: if you push too far or too quickly, it will all uncoil and you'll end up with a long strip to start over with. I tested mine a lot in the process, partially because I'm impatient. When you like it, go ahead and leave it pushed out.

Here is the biggest argument my friends and I have had about these bowls. My next step is to tell you to cover the entire thing in Mod Podge so it is sturdy and wont come apart. My friends however like the idea of a collapsible dish(partially because it is fun to play with). It's really up to you and what you plan to store in it.

Ta-da!! You have officially made your very own recycled bowl. Because you decide the size and the shape, the possibilities are endless. One of mine ended up looking like a flower pot, so I have a feeling it will appear in future crafts... We'll have to see. Enjoy, and, as always, Happy Crafting!
No comments:
Post a Comment