Pages

Thursday, January 24, 2013

Winter Scarves Gone Crafty


I don't know about you all, but here you can't leave a building without a scarf. I could never have anticipated it being THIS cold! I love my scarves, both as a shield from the cold and as a stylish fashion accessory. I also hate how much room they seem to take up, especially in my tiny dorm room. Time for a crafty fix!!

What you'll need:
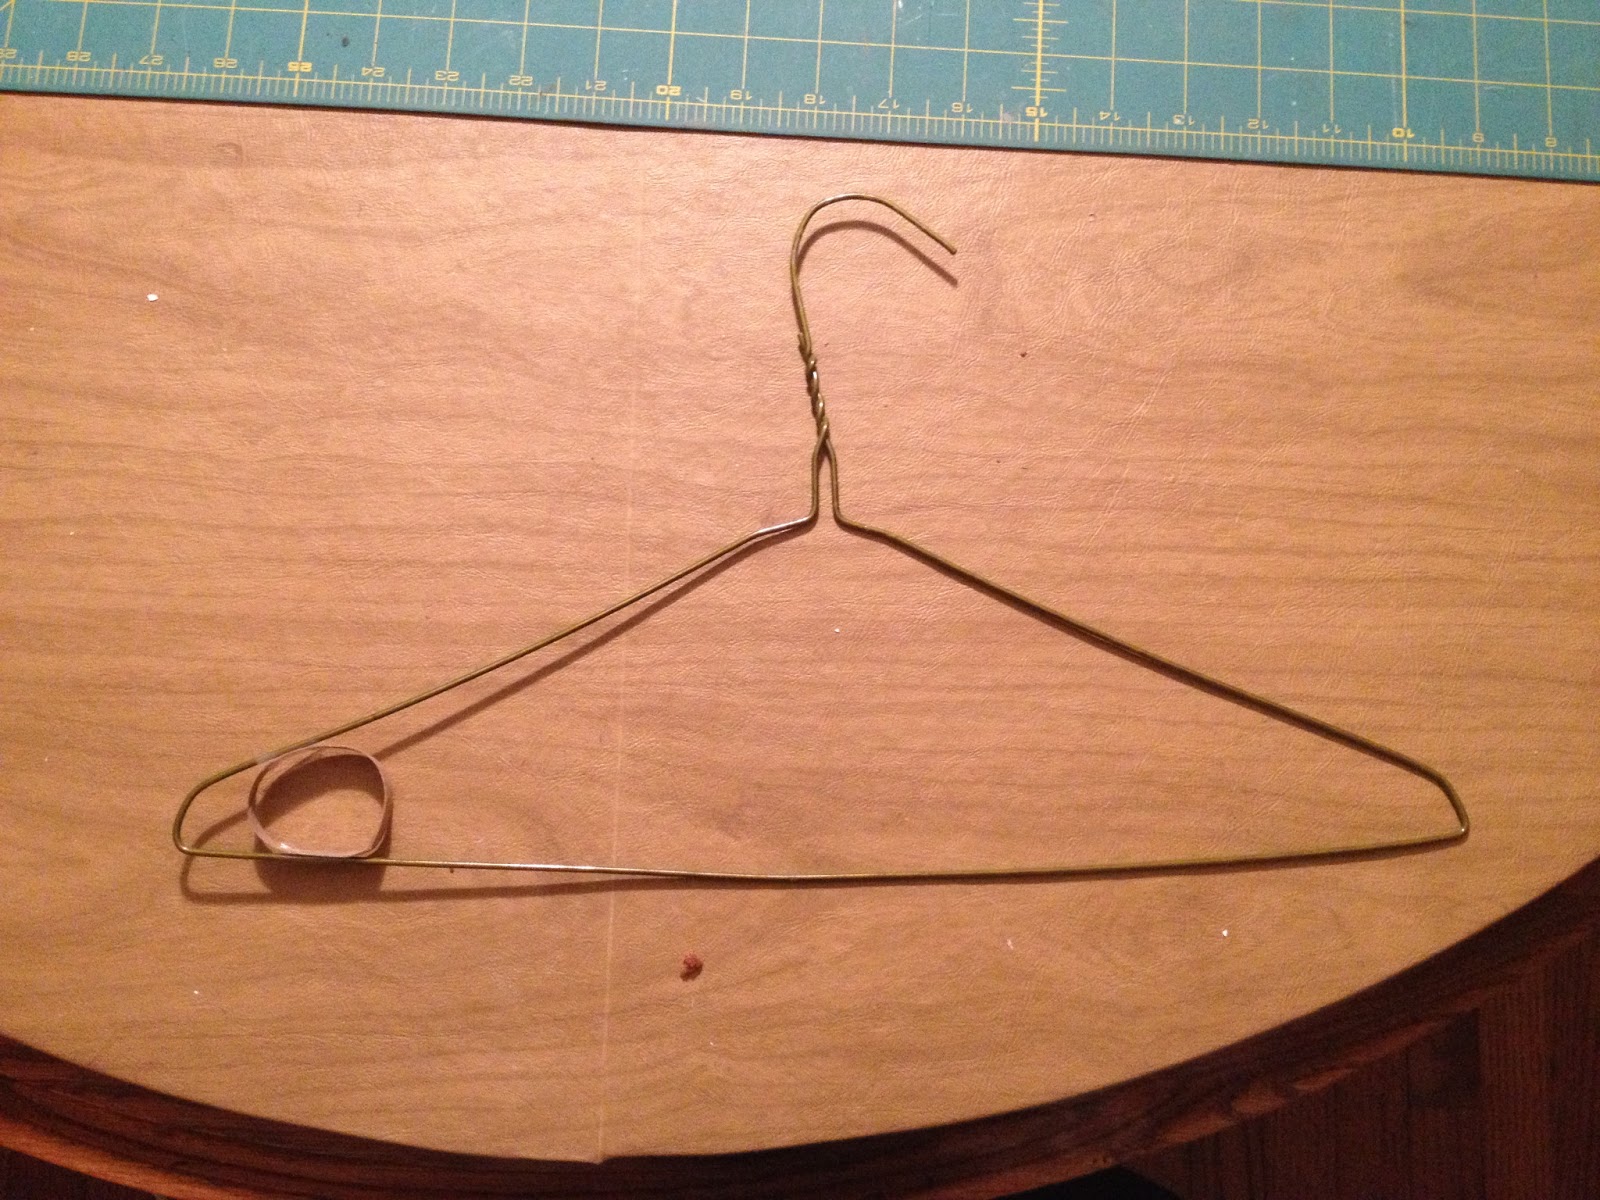
- a coat hanger (I stole a cheap metal one from my closet, but you can use any type you want)
- a few toilet paper tubes
- scissors
- a hot glue gun
- spray paint


Our house always has hangers like these laying around thanks to various trips to the dry-cleaners. I grabbed one and decided to put it to good use.


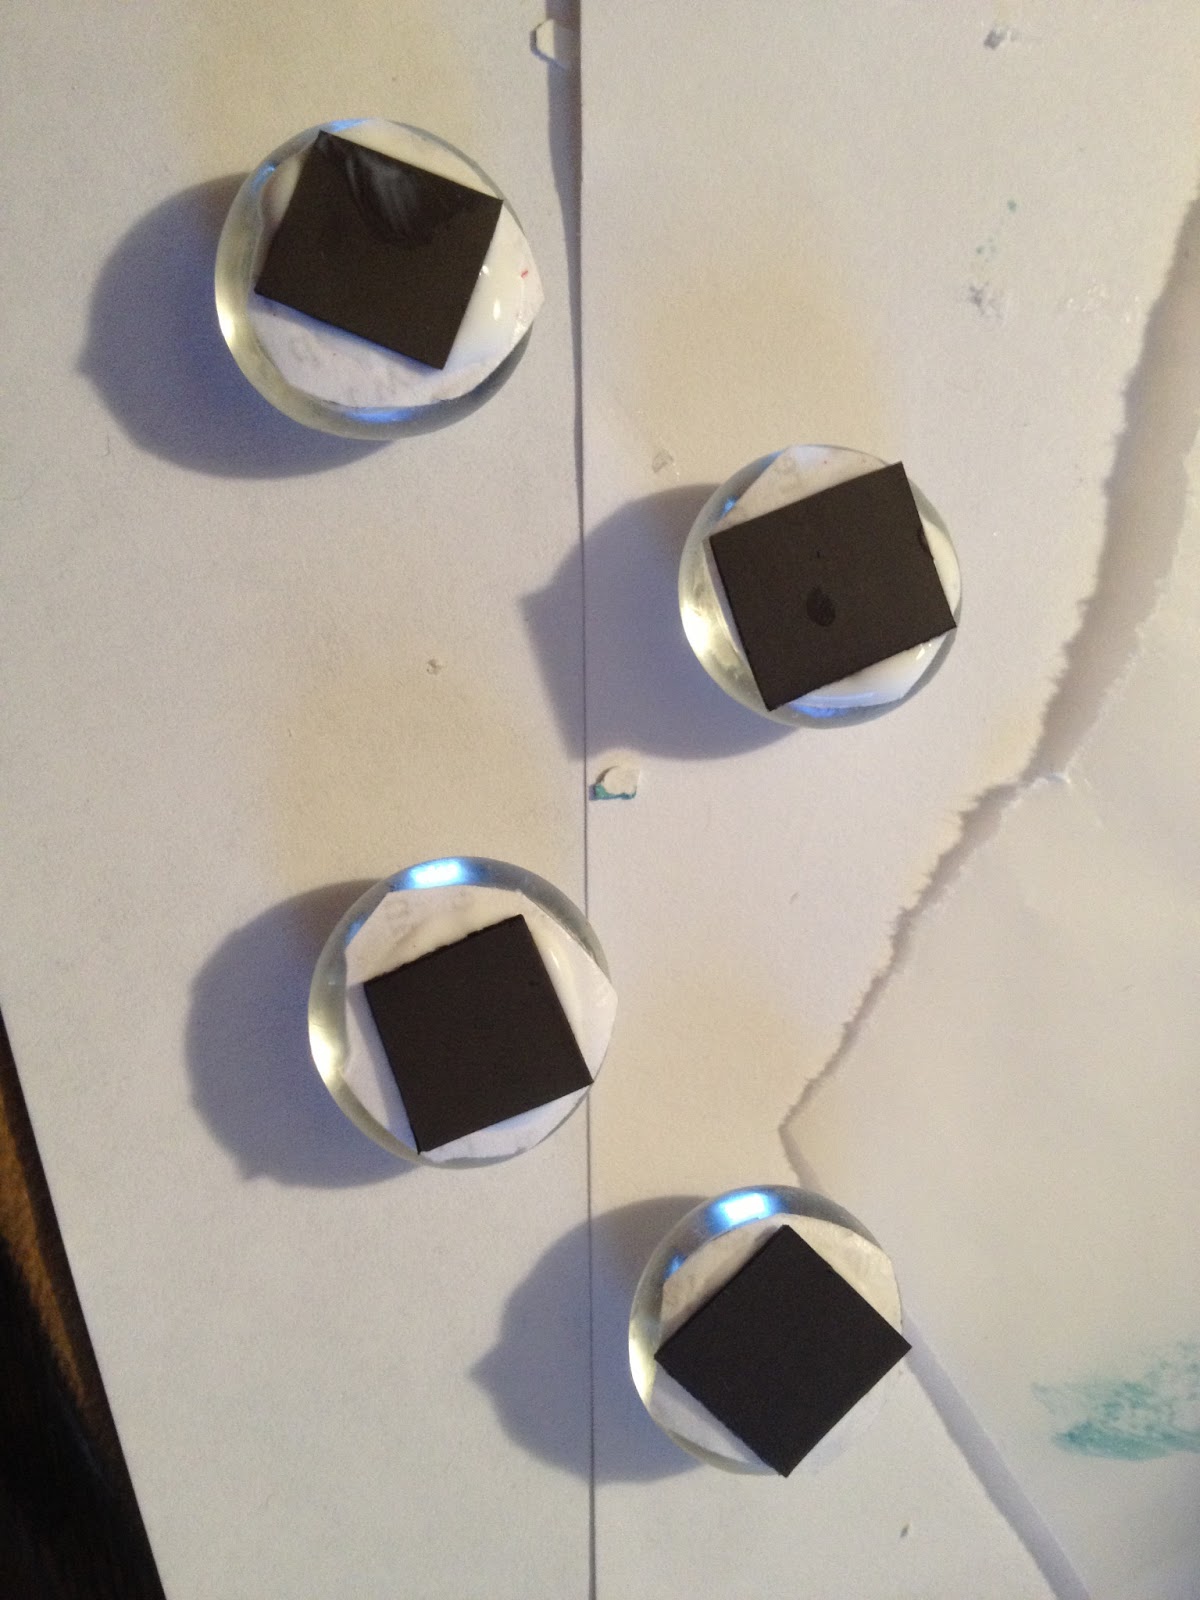
Grab a few empty toilet paper tubes and cut them up into disks. Mine were about an inch or so thick, but that doesn't really matter so much. Now, while your glue gun is heating up, start laying out where you want the tubes to go in the hanger. It's kind of a puzzle, and they are not going to fix perfectly, but the gaps could easily fit thinner scarves, so don't worry about mangling the tubes so they are tight together. Glue the rings to the hanger and to each other anywhere they touch. The more secure they are, the better.

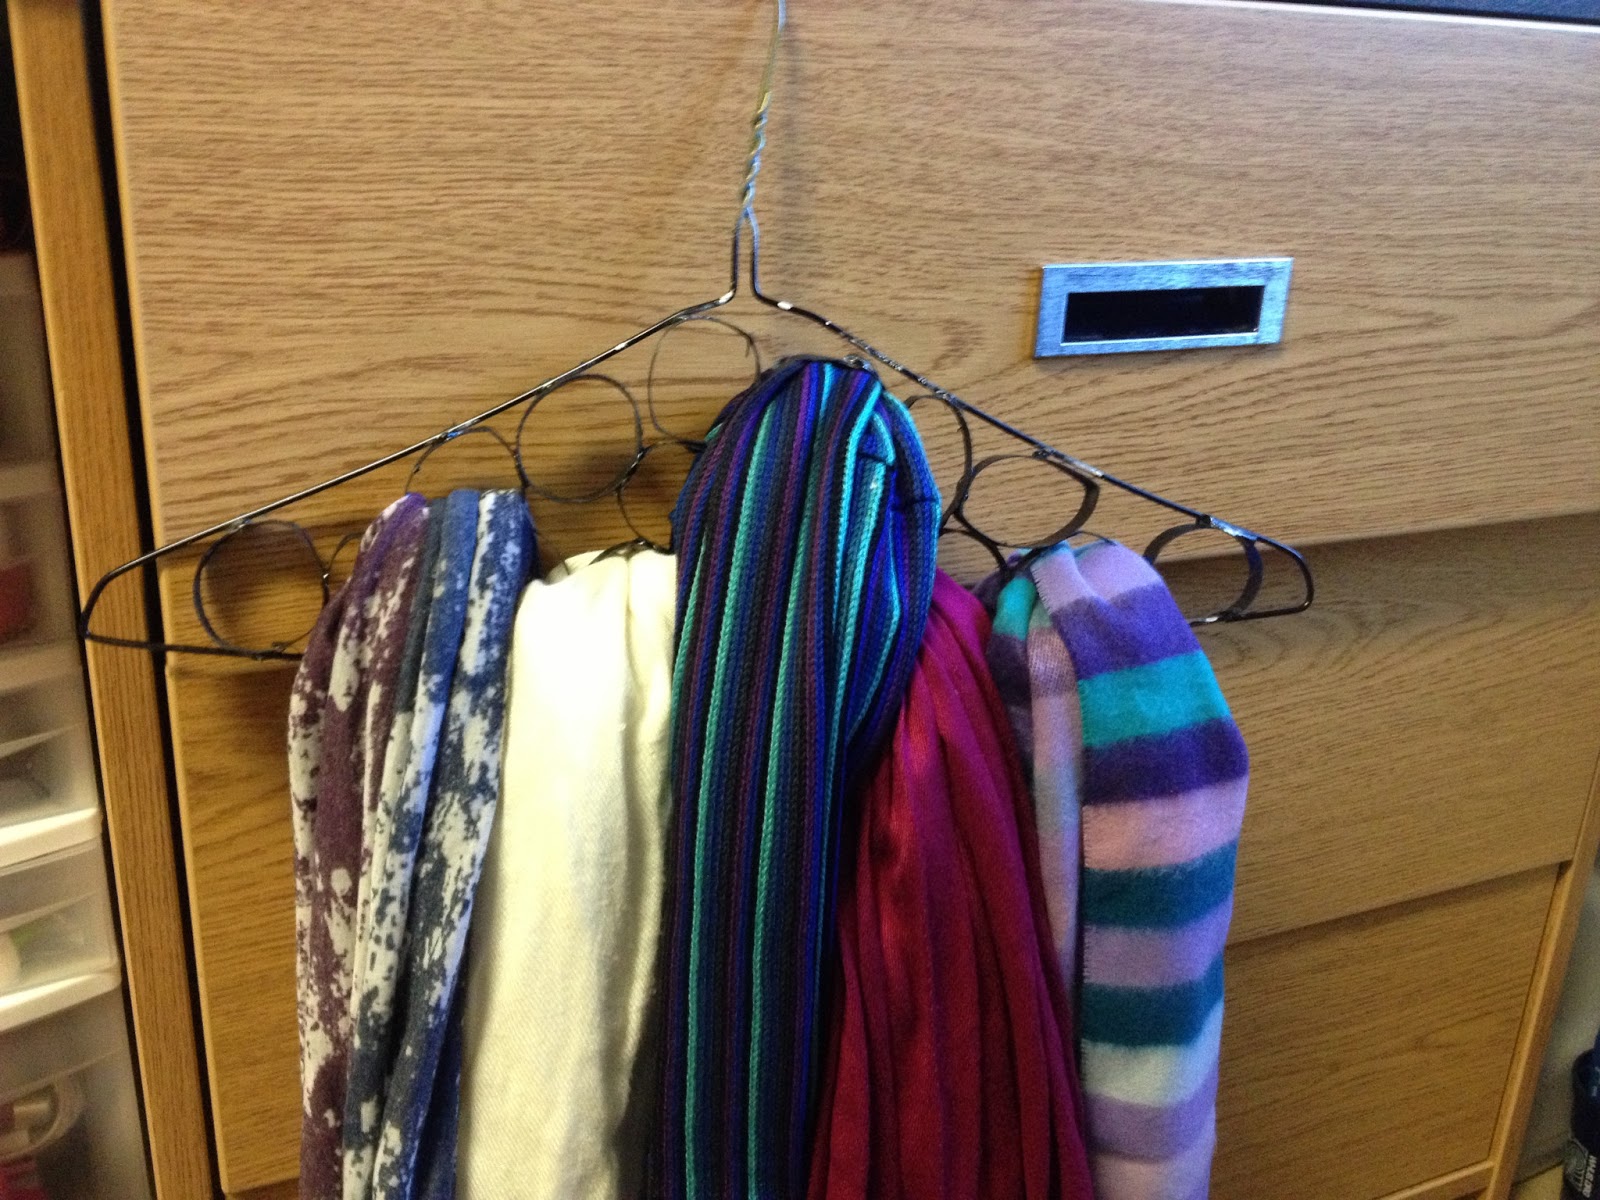
This is what it should look like when its done. I decided that it needed a good coat of paint. Spray paint is the best to use because it coats evenly without soaking the cardboard and making it lose it strength. (NOTE: if your school doesn't allow spray paint, you can always use it as is and paint it on your next trip home) I used black because its pretty fool-proof, but you can choose any color you want.

***TIP: when spray painting anything, be aware of how the different colors are going to cover. Dark colors like blue and black cover very easily, but colors like white and pink are going to require careful painting and a lot of coats to get a finished look.*** 


And there you have it!! Now you have a simple and cheap way to hang up all your scarves and free up some drawer space around your room. Most of the scarves hanging in the photo above are made of different materials, so its safe to say this will work on pretty much any scarf. 


Good luck, stay warm, and as always, Happy crafting!!


Thursday, January 17, 2013

De-cluttering Cards


My mom was asking me to clean my room before I left for my second semester, but when I went to put left over books on my shelf, I found all of these instead; cards from every celebration over the last 2 years. Who knew they could take up so much space?! Of course I couldn't throw all these kind sentiments away (although I did weed through the ones that just had a signature), so instead I created a crafting opportunity.

Here's what you'll need:
-old sentimental cards
-composition notebook
-Mod Podge
-printer paper
-tissue paper (or construction paper)
- a button and string


I went into the craft closet and found several of these. They are cheap, but over the years my brother and I decided that they were our least favorite school supply. I liked the black binding, but the cover needed some work.


The first step is to cover the top with white computer paper. Cover the front in Mod Podge and then place the paper over it. Smooth it out as best you can, but it is going to be kinda bumpy, so don't worry too much about it.


Turn over the cover and use the same technique to seal the other side. Fold the paper and pull it taught. Paint more Mod Podge over the edges to make sure its secure.


The next part is the fun step: Decorating!! I love this combination of colors, but you could do any design or pattern. If you don't have tissue paper on hand, (TIP: I save it from all gifts to use later) construction paper will work as well, it just won't blend like mine did. I added a script title, but that's also your call.


After looking at my stack of cards, I realized that this book was going to get pretty bulky. Adding a tie, like a journal, seemed like a good way to keep it together. I grabbed a needle and stitched the button to the front, sealing the knot with hot glue. You could just hot glue the button on, but I felt like this was a little more secure. Then, just use the same method to attach a string to the back. It needs to be long enough to safely go around the button twice. (TIP: the end of my string started splitting the moment  I cut it. Just run the end of the string through Mod Podge, and it seals together without a problem.)

1

2

3

Then you get to put the cards in! I organized them by occasion (sweet 16, graduation, etc). The hardest part was deciding how to put them in. (1) Most of the cards I ripped down the seam and put on opposite sides of the page, but some (2) could fit on a single page, which saves some volume in the book. The third (3) option involves cards that can't be glued down the same way, often because they had writing on the entire inside. Gluing them down this way allowed them to still be opened, but it took up a lot more depth.


Tie it together and you're all set!! Now, like me, you'll have a way to hoard cards for years to come (sorry mom!). Let your cover represent you, and may the cards forever make you smile. As always, Happy Crafting!!

Monday, January 7, 2013

Coloring for Grown-ups


Who said crayons are only fun for kids? Here's a fun way to create "fridge worthy" pieces of art to decorate your dorm with.

What you'll need:
- A Cardboard box (or canvas)
- White Paint
- A Hot Glue gun
- Crayons (mine ended up needing two 24-count boxes, but it'll depend on your design)
- A Hair dryer


I ordered all my textbooks online over break, so when the boxes started to pile up, I decided that they would make the perfect backdrop for my latest crafting escapade. Instead of going out to buy poster board or canvas, I just painted one of the boxes white. Later I decided to cut the box in half, just so it didn't stick out so far from the wall, but that is completely your preference.


The next step is to line up the crayons in the order you want them. I decided to do a rainbow this time, but there are so many cool designs out there to choose from. Hot glue each one into place (mine hang off a little because its a small box, but we'll fix it later, don't worry). I reccomend a high-temp glue gun, just because it is sturdier and less likely to melt when the crayons do, but whatever you have will work fine.


Here comes the fun part. Tip your board up and find something to lean it against. You're gonna want to put something down underneath it so you don't get wax everywhere. Grab a hair dryer (isn't mine pretty!) and point it at the crayons. It takes a little time to get started, so if you're impatient like me, try to hang in there. It's worth it. Start by working on little sections, and then pick it up and move it around under the hot wind to get different patterns.

***Important tip!! If you are using cheap crayons like I did, they are going to start to sweat. I recommend grabbing a napkin and wiping down the wrappers of the crayons as it starts. This way the wax is thicker when it runs***


I wanted to add the words at the bottom, but realize that the wax basically has a mind of its own. I had to move the text over, but in the end I liked it better that way anyway.


One of the last things I decided to do was cut the tops off the crayons, right down to the top of the board I was using. I think it looks cleaner this way, but if you used a bigger board or like the way they look hanging off, by all means leave them. If you are in my situation and you want to trim them, however, now is the time. Grab a knife or a pair of scissors and slice right down to where you want them. The wax should still be pretty soft, so they are super easy to trim.


And there you have it!! Beautiful, inspirational artwork to hang around your room. The possibilities are endless, and it can be made to fit anyone's style. Dream on, and as always, happy crafting!!

Sunday, January 6, 2013

Eggshell Necklace


Yep, you read that right: this necklace is made from a real eggshell!! So simply steal a hard-boiled egg from the dining hall and you've got both a snack and a great new accessory.

Here's what'll you need:
- 1 eggshell (this will actually make 4-8 necklaces, depending on size)
- a wooden tag
- Mod Podge (see? it almost always plays a role in crafting)
- nail polish
- art medium (other people use things like dimensional magic- basically anything that can coat the top)
- a jump ring


The first thing that you have to do is soak your eggshell so all lining comes off. Really hot water causes it to peel off in about 20 minutes, just long enough to get all your supplies together. You can use your thumb to rub off any of the skin left on the eggshell after you've soaked it, and you can tell when its gone because the shell becomes very easy to crumble. In the end you want to end up with something like this. (I used the end of my paintbrush to break it up into even smaller pieces because my tag was so small.)


My mom had a ton of these little wooden pieces lying around from years of boyscout meetings and school projects, so the hardest part for me was choosing which one I wanted to use. I decided I liked the size and shape of the teardrop one, but I may go back and make a heart one too.


Here's where the Mod Podge comes into play again. Put a thick coating over the top of the wood and then sprinkle the shells over the top. You can use a toothpick to settle them and move the pieces around, but I liked the way it looked with some of the pieces sticking up a little bit. Just move them around until you like the way it looks. Then let it dry, usually about an hour or 2.


Here's the first thrifty college tip! Many people suggest that you use fancy craft inks and paints to do this next step. I didn't really feel like buying a little jar of paint I would use once, so instead I used nail polish, because pretty much every college girl I know has plenty to choose from. The color I used had dimension to it, which gave the finished piece an extra cool look. Just pour a little of it out onto wax paper and dab it into the cracks of the pendant with a paint brush. Make sure to get the sides and back of it as well so its all one color.

***The other cool thing about using nail polish is the quick drying time. Take a manicure break, and its all ready for the next step when you are***


Having a brother who is big into art made this step easier too. He found an old jar of art medium for me to use, but anything that will put a dimensional clear coating over the shells will work. Paint it on liberally. This step takes the most time to dry, but it is definitely important, so I left it overnight.


This is how it looks when its done. All that's left is putting a hole in the top and borrowing your favorite chain from another necklace. Wear it for your next night out, and just think, your nails can match!! It's a fun and inexpensive way to add flair to your wardrobe. Happy Crafting!! 

Friday, January 4, 2013

Magnet Mayhem


Happy New Year!! While most of us are still on winter break, if you're like me you're already planning how to display the awesome memories made this vacation. Why not personalize your magnet board with these cute little magnets. Personalize them with words from your favorite book, movie, or actor (mine are Harry Potter themed of course).


Here's What you're gonna need:
- glass beads (mine were from an old fish tank, but you can find them in filled vases too)
- Mod Podge (TIP #1- if you don't have some of this stuff yet, GET IT. It is a staple in the crafting world, and you'll find more uses for it than you could imagine)
- text of your choice
-magnet sheets


These are pieces of text I chose to use. As an English Major and avid reader, I didn't have the heart to cut up an actual book. Plus, this way, you get to choose the font and size for your beads. Just trace out the text around your beads, making sure you highlight the words you want to appear.


Next, brush a thin layer of Mod Podge over the flat part of the glass. Stick the text down to it, and then peak from the other side to make sure its centered the way you want. It's gonna look cloudy at first, but don't worry. That goes away as the glue dries.


Once the text is where you want, spread another layer of glue on top of it, making sure the sides are firmly pressed in place (this is the part that gets kinda messy).


After a few hours of drying, attach the magnets to the back. I just used little squares for mine, but you could attempt to cut similar circles out of it. My magnets also had sticky stuff on the back, but I glued it down, just to be safe.


Ta-da!! There you have it! What a simple way to personalize your once boring necessities, all while showing off your crafting prowess and what an amazing break you had. Happy crafting!!